The New Standing Desk is a Squat: Squat Sitting
While many people know of the benefits of walking and standing during the workday, few are aware that squat sitting is another beneficial posture to add into the repertoire. People from other cultures often spend most of their day in the squatting position. For instance, in China and India, people work the fields in a squatting position, and they have little to no back and hip pain. Experts debate whether the squatting or genetics causes this reduction (in pain?), however, I tend to believe that lifestyle is the primary contributor.
One reason is the increased range of motion in the hips and feet that squatting allows. Oftentimes, people with back pain have pathologies and decreased range of motion in their hips and ankles. Squat sitting throughout the day effectively provides a functional way to increase the range of motion in these two joints. When your hips and ankles have proper range of motion, your back does not have to compensate by becoming hypermobile. This will protect your back.
Many of you are probably thinking “but I can’t get into a squat position,” or maybe “squatting seems unrealistic at work”. Many people have poor hips and knees that make going directly into a squat not only hard but unsafe. That is entirely okay. I’m here to guide you through modifications to help you reach a full squat safely and realistically.
Note: If you have orthopedic issues such as a recent hip surgery, contact a physical therapist to guide you and let you know if squatting is safe for you. However, learning to squat safely can actually help your knees when done properly!
So here is how it’s done:
- First, you will need a desk. Fortunately, there are a lot of affordable surfaces that allow you to work off the floor. I’m attaching one surface, but there are many others. In addition, by the time you go into a full squat, putting the desk on or near the floor may is the ideal position.
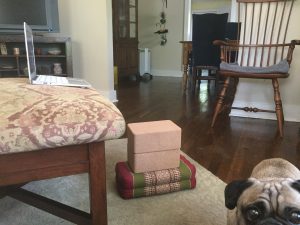
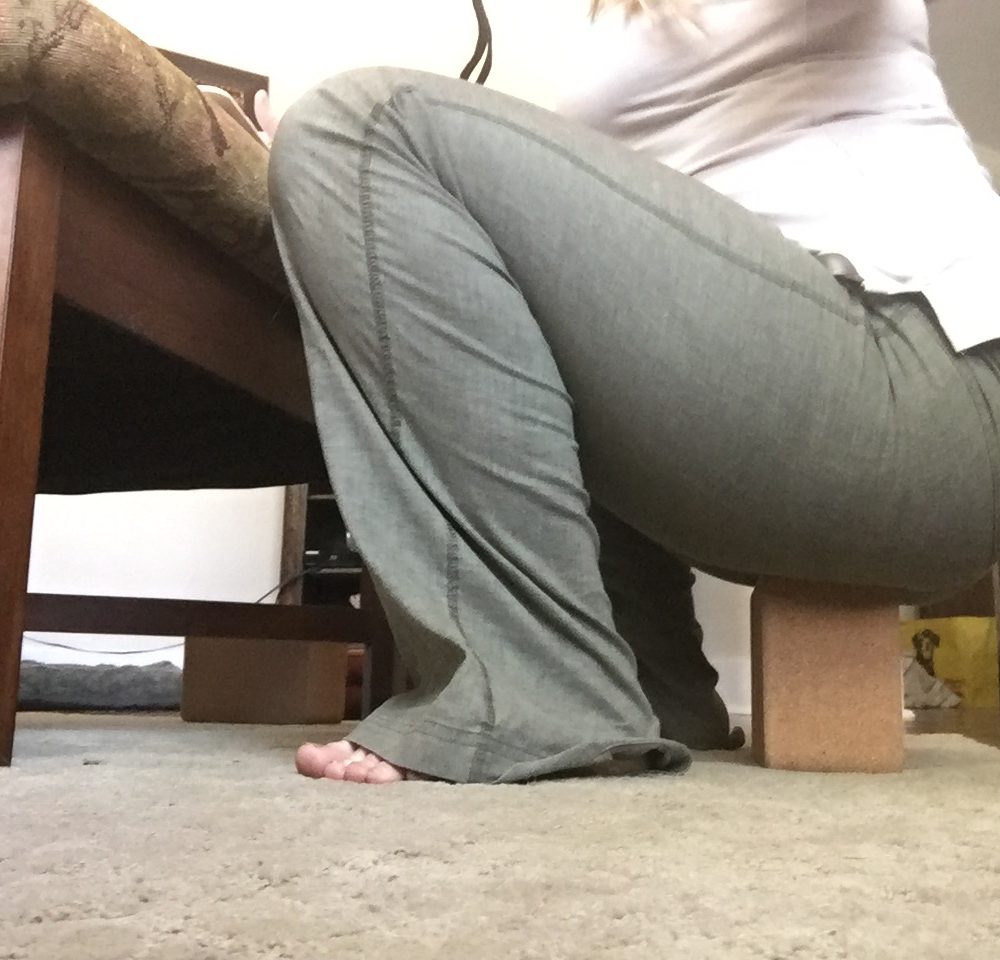
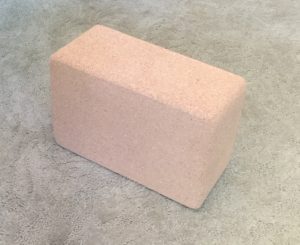
https://https://www.amazon.com/Avantree-Adjustable-Portable-Standing-Breakfast/dp/B01A81FBQS/ref=pd_lpo_vtph_229_bs_tr_t_1?_encoding=UTF8&psc=1&refRID=D17D3R697FP1YT84B09X - Start at your regular desk with three yoga blocks. (You can be creative here and use anything. If using books, make sure they won’t fall over.) Stack them on top of each other so they are a little shorter than your chair. Put the stack of blocks in front of your desk (I use my
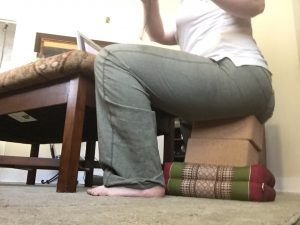 coffee table, but the height of the desk should put your elbows at a 90 degree angle). Angle the stack so that the narrow side faces the desk. Now sit down on the blocks with your feet spread outwards mimicking the squatting position.
 - If you need one more block to start, that is okay. Now that you are sitting in this position tune into your body. Is the position easy or do you find it challenging? Do you feel a lot of stretching in your legs or pulling in your knees? The stretch or pulling you feel should “hurt so good”. Your back should feel relief or good pain. Radiating or intense, painful stretching indicates a need to modify or quit. You can do this by adding another block, bringing your legs closer together or bringing your feet away from your body. If you find the block uncomfortable on your bum, feel free to add a blanket.
- Build up to twenty minutes in this position. You may initially only tolerate thirty seconds in this position or you may tolerate five minutes. Time yourself and try to add about 20% every day. For example, if you can tolerate five minutes one day, the next day make it six. If you can tolerate thirty seconds, the next day make it thirty-five seconds. If you follow the guidelines and feel you progressed too quickly (by feeling intense stretching or pain), feel free to stay at the previous level for another day to two.
- Once you can tolerate twenty minutes here without any discomfort or fatigue you can remove one block. You are engaging your core more than in sitting
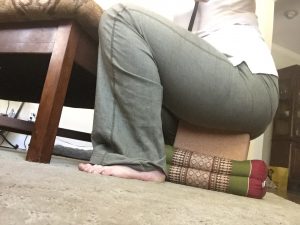
at this point because you aren’t using a chair back. Follow the same protocol with two blocks as you did with three. If you need to stick a book on top of the two blocks first, that is okay.
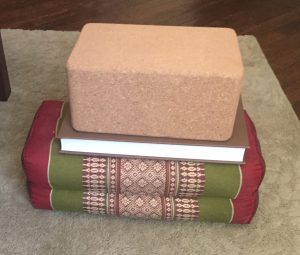
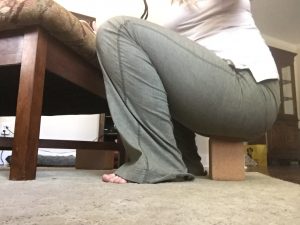
Once you get down to one block, you may choose to put it on its side first. This is a good option because it will be a little higher, making the transition easier. It also is a narrower base of support meaning you have to do more balance work in this position. Also, by the time you are using one block, you will likely want the computer on the floor or near the floor.
- You may choose to stay at the level of one block for your squatting. If you choose to progress to no blocks, follow this progression.
Start with a full squat. Listen to your body to know when to stop. When you feel your muscles fatigue or the stretching becomes too intense, put the block back underneath you and rest for five minutes. Then, take it out and go again until you have gone for the full twenty minutes. This process should be quick and should not distract from your ability to work. I have done it while typing this blog.
- Slowly increase your time in the full squat. You can do this intuitively, or with 20% increases. It is not necessary to squat for twenty minutes. You can also incorporate a few yoga positions during your rests instead of using the block.
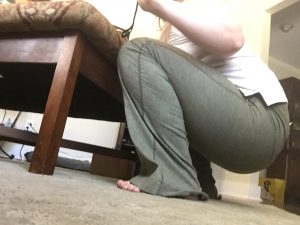
- “But my physical therapist said squatting was bad for my knees. She told me not to squat past ninety degrees.” Squatting past ninety degrees is harmful to people who spend all day sitting in a chair. That is why I recommend following the guidelines outlined here. This will allow you to develop postural control, strength, endurance, and mobility in a slow safe manner. Then, when you get to the full squat, your body will be prepared for it.
I admit, squat sitting is still controversial in the West, but subjectively I have had good results. We also have evidence from different cultures that it is not as dangerous as some therapist’s make it out to be. However, listen to your body and start small if you are unsure. I have every reason to believe that adding squatting to your work postures will help increase mobility, energy levels, and improve your focus.
